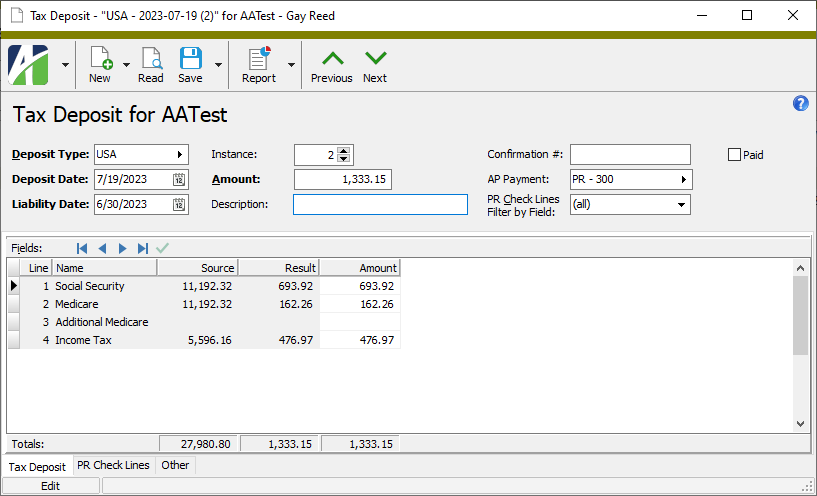
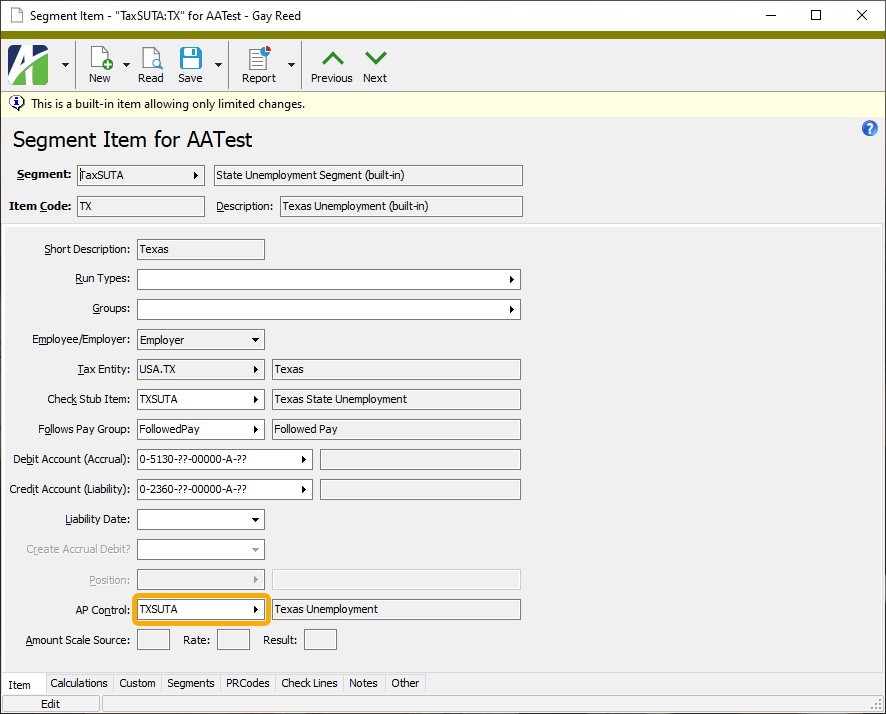
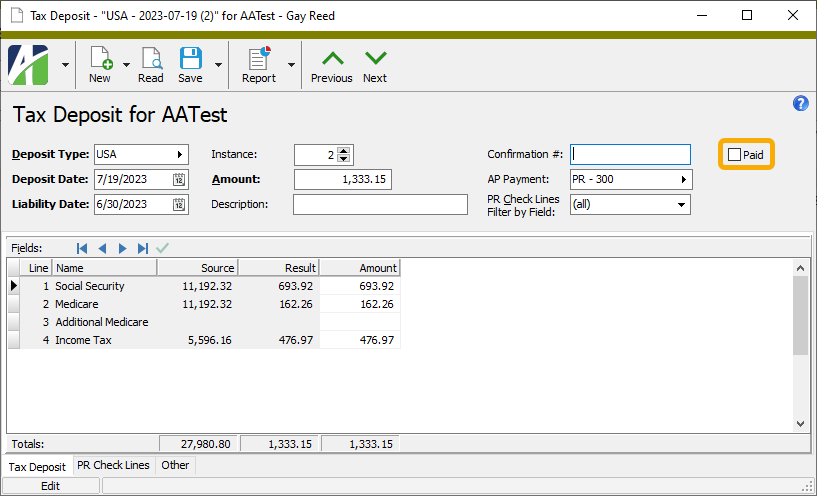
Tax deposits are the periodic deposits you make with federal, state, and local tax jurisdictions for taxes withheld from employee pay and/or for employer taxes. ActivityHD needs this information to generate tax deposit reconciliation reports (such as the US 941 quarterly report and the USA Tax Liability Report). A tax deposit can be linked with its associated payment in Accounts Payable. If the AP invoice was created in Payroll and you have the Payroll to AP interface, you can view the payroll check lines which contributed to each part of the tax deposit.
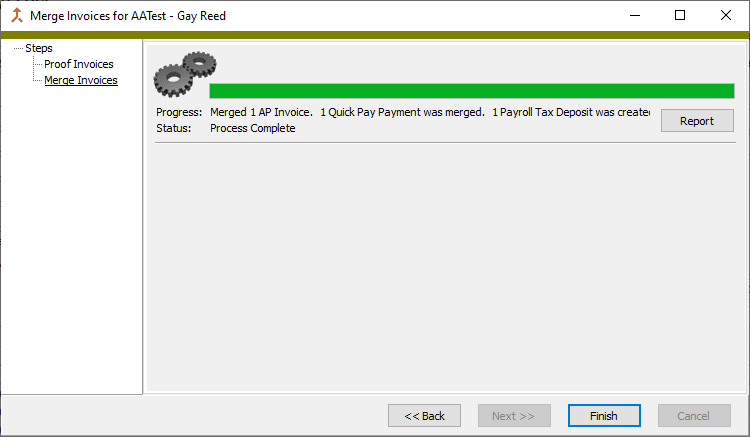
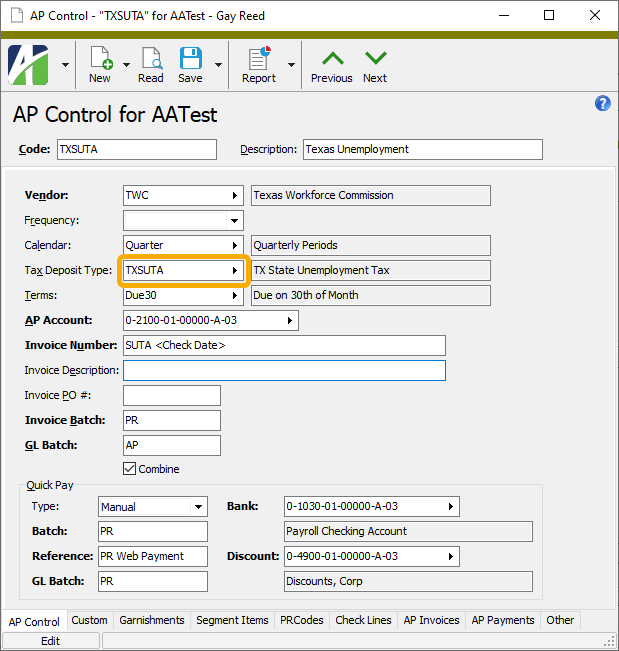
Tax deposits can be entered manually or created automatically. For automatic creation, you must have the Payroll to AP interface installed.
 Create a manual tax deposit
 . The New Tax Deposit window opens.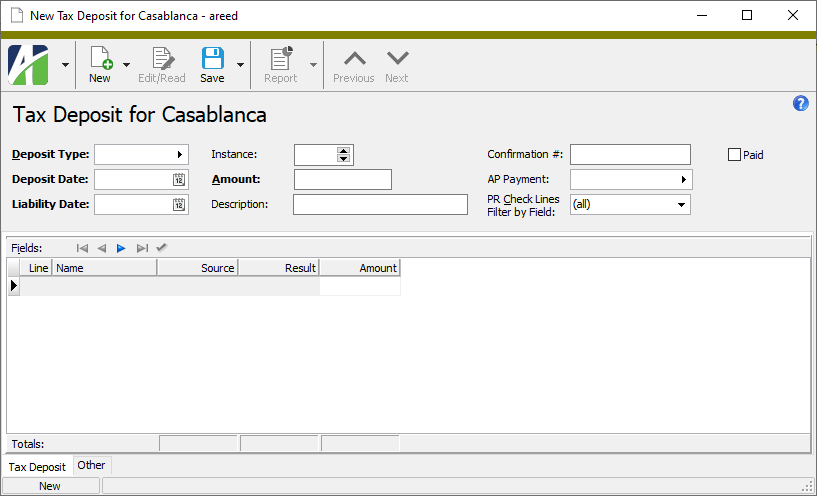
Tax deposits security
Common accesses available on tax deposits
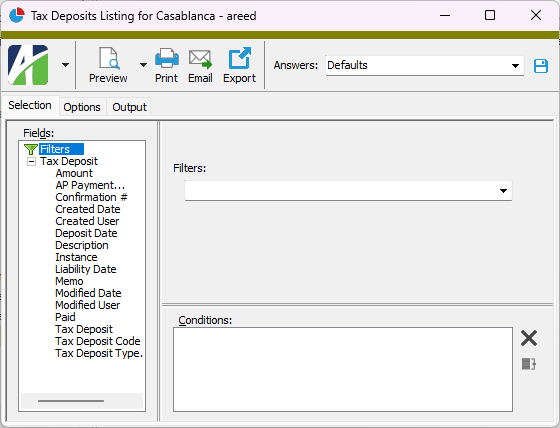
Tax deposits filters
Purpose
The USA Tax Liability Report shows your income tax, social security, Medicare, and total tax liability.
Content
For each total or subtotal on the report, the report shows:
- number of checks
- number of employees
- income tax liability
- employee social security liability
- employer social security liability
- total social security liability
- employee Medicare liability
- extra Medicare liability
- employer Medicare liability
- total Medicare liability
- total tax liability.
In addition, you can include one or more of the following:
- taxable wages
- liability by check.
The following totals appear on the report:
- grand totals
- check count
- employee count.
Print the report
- In the Navigation pane, highlight the Payroll/Human Resources > Checks folder.
- Start the report set-up wizard.
- To report on all or a filtered subset of checks:
- Right-click the Checks folder and select Select and Report > USA Tax Liability Report from the shortcut menu.
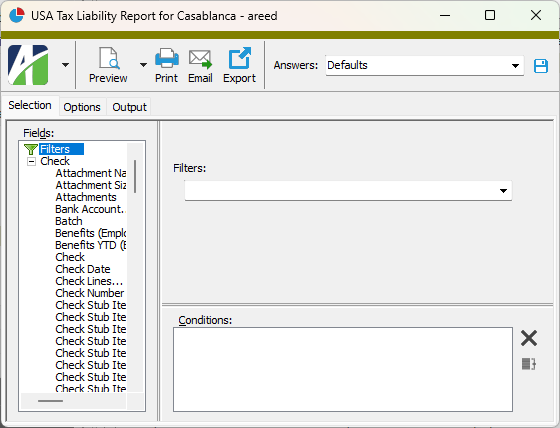
- On the Selection tab, define any filters to apply to the data.
- To report on specifically selected checks:
- In the HD view, select the checks to include on the report. You can use Ctrl and/or Shift selection to select multiple records.
- Click
 and select USA Tax Liability Report from the drop-down menu.
- To report on a particular check from the Check window:
- In the HD view, locate and double-click the check to report on. The Check window opens with the check loaded.
- Click and select USA Tax Liability Report from the drop-down menu.
- To report on all or a filtered subset of checks:
- Select the Options tab.
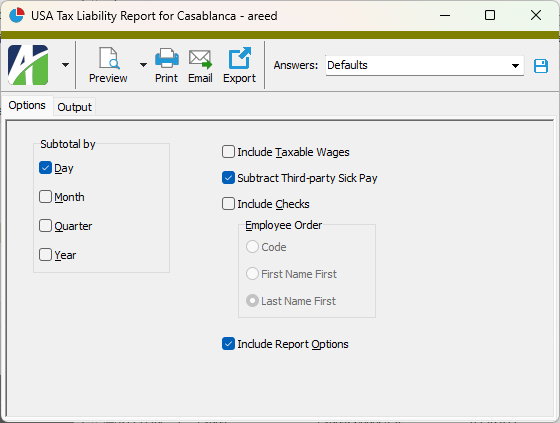
- In the Subtotal by section, mark the checkbox(es) for the subtotal(s) to show on the report. Your options are:
- Day
- Month
- Quarter
- Year
- To show wages subject to each tax, mark the Include Taxable Wages checkbox.
- To subtract group totals for "3rdPartySickPayTax", "3rdPartySickPaySS", and "3rdPartySickPayMed" from the tax liabilities, mark the Subtract Third-party Sick Pay checkbox.
- To show liability breakdown by check, mark the Include Checks checkbox.
- If you mark the Include Checks checkbox, the Employee Order field is enabled. Select how to sort employee checks on the report. Your options are:
- Code. Use the employee code.
- First Name First
- Last Name First
- To include a section at the end of the report with the report settings used to produce the report, leave the Include Report Options checkbox marked. To produce the report without this information, clear the checkbox.
- Select the Output tab.
- In the Design field, look up and select the report design to use.
- In the toolbar, click the icon for the type of output you want:
 - Provides access to two preview options.
- Preview - Click the icon or click the drop-down arrow and select Preview from the drop-down menu to view the report in the Crystal Reports viewer.
- Preview to PDF - Click the drop-down arrow next to the icon and select Preview to PDF to view the report in the PDF reader.
 - Opens the Print dialog so that you can select and configure a printer and then print a paper copy of the report.
 - Opens the Report Email dialog so that you can address and compose an email that the report will be attached to. For best results, ensure your email client is running before you attempt to send a report via email.
 - Opens a drop-down menu with two export options:
 - Export Report - Opens a dialog so that you can save the report to a file. File types include Crystal Reports (.rpt), PDF (.pdf), Microsoft Excel (.xls), Microsoft Word (.doc), rich text (.rtf), and XML (.xml).
- Export Data - Opens a dialog so that you can export report data to XML or JSON file format.
- From
- The email account from which to send the email. Valid options are:
- Windows user default account. Sends email using the user's Windows default email account. For most users, this is the account configured in Outlook or another email client application.
- Server personal. Sends email using the email configuration for the system or company server and the email address on the current user's authorized user record. The authorized user record must have a confirmed email address.
- Server generic. Sends email using the email configuration and "from" address for the system or company server. This option requires "Send generic" access to the Server Email resource.
- To
- The email address(es) to which to send the email. Separate email addresses with semi-colons.
- CC
- The email addresses to copy on the email. Separate email addresses with semi-colons.
- BCC
- The email addresses to blind copy on the email. Separate email addresses with semi-colons.
- Subject
- The subject line.
- Text box
- The body of the email.
Data extensions
The following data extensions are available for the report:
- Employees
- Checks
Purpose
The Check Lines Listing provides a list of check lines recorded in Payroll.
Content
For each check line included on the report, the listing shows:
- PRCode and description
- batch - entry number
- for garnishments, the garnishment record number
- work date
- source
- rate
- result.
In addition, you can include:
- memos.
The following totals appear on the report:
- employee totals (check line count, pay, deductions, tax, source, result) or PRCode totals (check line count, source, result)
- report totals (check line count, pay, deductions, tax, source, result).
Print the report
- In the Navigation pane, highlight the Payroll/Human Resources > Checks > Check Lines folder.
- Start the report set-up wizard.
- To report on all or a filtered subset of check lines:
- Right-click the Check Lines folder and select Select and Report > Check Lines Listing from the shortcut menu.
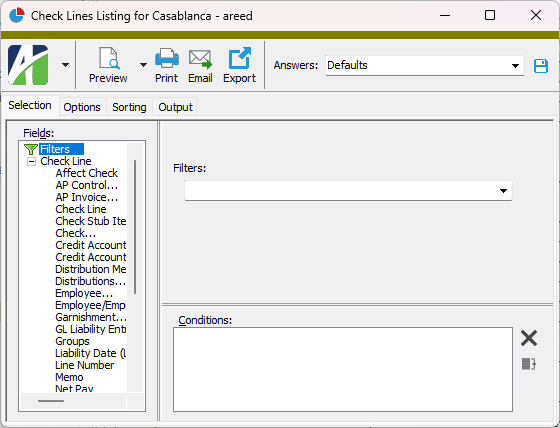
- On the Selection tab, define any filters to apply to the data.
- To report on specifically selected check lines:
- In the HD view, select the check lines to include on the report. You can use Ctrl and/or Shift selection to select multiple records.
- Click and select Check Lines Listing from the drop-down menu.
- To report on a particular check line from the Check Line window:
- In the HD view, locate and double-click the check line to report on. The Check Line window opens with the check line loaded.
- Click and select Check Lines Listing from the drop-down menu.
- To report on all or a filtered subset of check lines:
- Select the Options tab.
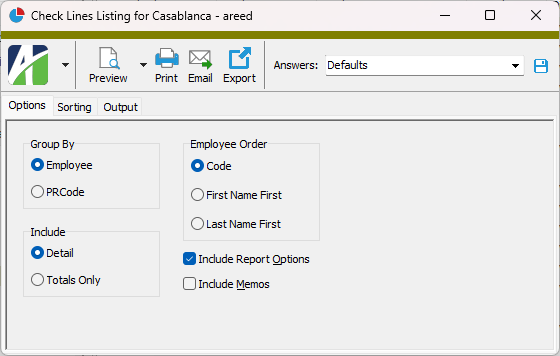
- In the Group By field, select how to group check lines on the report. Your options are:
- Employee
- PRCode
- In the Include field, select the information to include on the report. Your options are:
- Detail
- Totals Only
- In the Employee Order field, select the sort order for employee records on the report. Your options are:
- Code - Base the sort order on the employee code.
- First Name First
- Last Name First
- To include a section at the end of the report with the report settings used to produce the report, leave the Include Report Options checkbox marked. To produce the report without this information, clear the checkbox.
- To include check line memos on the report, mark the Include Memos checkbox.
- Select the Sorting tab.
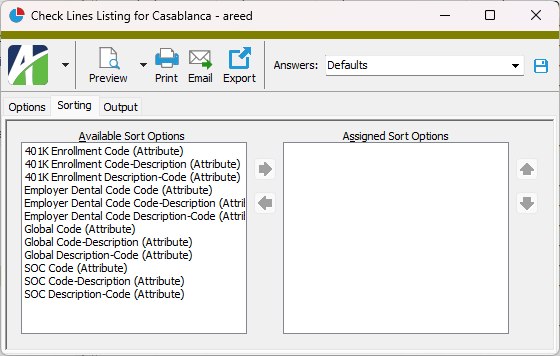
- In the Available Sort Options list box, highlight the field(s) to sort the report by, then click
 to move your selection(s) to the Assigned Sort Options list box.
 - If you selected multiple sort fields, use
 and
and  to arrange the sort fields in the order you want them applied.
 - Select the Output tab.
- In the Design field, look up and select the report design to use.
- In the toolbar, click the icon for the type of output you want:
- - Provides access to two preview options.
- Preview - Click the icon or click the drop-down arrow and select Preview from the drop-down menu to view the report in the Crystal Reports viewer.
- Preview to PDF - Click the drop-down arrow next to the icon and select Preview to PDF to view the report in the PDF reader.
- - Opens the Print dialog so that you can select and configure a printer and then print a paper copy of the report.
- - Opens the Report Email dialog so that you can address and compose an email that the report will be attached to. For best results, ensure your email client is running before you attempt to send a report via email.
- - Opens a drop-down menu with two export options:
- Export Report - Opens a dialog so that you can save the report to a file. File types include Crystal Reports (.rpt), PDF (.pdf), Microsoft Excel (.xls), Microsoft Word (.doc), rich text (.rtf), and XML (.xml).
- Export Data - Opens a dialog so that you can export report data to XML or JSON file format.
- From
- The email account from which to send the email. Valid options are:
- Windows user default account. Sends email using the user's Windows default email account. For most users, this is the account configured in Outlook or another email client application.
- Server personal. Sends email using the email configuration for the system or company server and the email address on the current user's authorized user record. The authorized user record must have a confirmed email address.
- Server generic. Sends email using the email configuration and "from" address for the system or company server. This option requires "Send generic" access to the Server Email resource.
- To
- The email address(es) to which to send the email. Separate email addresses with semi-colons.
- CC
- The email addresses to copy on the email. Separate email addresses with semi-colons.
- BCC
- The email addresses to blind copy on the email. Separate email addresses with semi-colons.
- Subject
- The subject line.
- Text box
- The body of the email.
Data extensions
The following data extensions are available for the report:
- Employees
- Checks
- Check lines