Segment Item Record ID
Segment
The segment the segment item is associated with. This field is disabled after you save the segment item.
Press F3 to look up the value.
If a value is already selected, you can press F4 to open the record in its native editor.
Item Code
An item code for the segment item. Together, the segment and item code must be unique.
Description
A description of the segment item. This description is used on reports and listings. Use the description to indicate what to expect in source, rate, and result amounts.
Example
"Hourly Pay" might imply a source amount of hours, an hourly pay rate, and the resulting dollars.
Item tab
Short Description
A brief description of the segment item. The short descriptions of all segment items in a PRCode are combined to create a description for the PRCode. Descriptions are always separated by a comma + space; blank short descriptions are skipped.
Run Types
The run types to which the segment item contributes. The run type determines which check lines are created from employee automatics when payroll is processed. If you enter multiple run types, separate them with commas.
Note
The Ctrl and Shift selection features are available in the Find dialog box so that you can select multiple run types. If you use this method to enter run types, ActivityHD automatically separates your selections with commas.
Press F2 to open the Run Types popup where you can add run types to or remove run types from your selection.
Press F3 to look up the value.
Groups
The check line groups to assign the segment item to. If you enter multiple groups, separate them with commas.
Note
The Ctrl and Shift selection features are available in the Find dialog box so that you can select multiple run types. If you use this method to enter groups, ActivityHD automatically separates your selections with commas.
Press F2 to open the Groups popup where you can add groups to or remove groups from your selection.
Press F3 to look up the value.
Employee/Employer
This field is enabled if the segment associated with the segment item is a deduction or tax segment. This is the party responsible for the deduction or tax. Valid options are:
- <blank>
- Employee. The deduction or tax is the employee's responsibility. The check line is subtracted from the check and a credit account is required to offset the bank account.
- Employer. The deduction or tax is the employer's responsibility. (We're using the term "deduction" loosely here since these are not deductions in the strictest sense of the word.) Employer check lines do not affect the check; both a debit and a credit are required.
Tax Entity
Some groups, such as the built-in IncomeTax group, are qualified by a tax entity. This is the tax entity used to help define the total. If tax entities are assigned to more than one segment in a PRCode, the tax entity on the rightmost segment prevails.
While historically tax entities were only assigned to tax-type PRCodes, a tax entity can be assigned to any PRCode; thus, they can contribute to groups which are qualified by tax entity.
If this is a Type:Pay segment item and you only pay employees in a single state, select the tax entity to use for the segment item so that all subsequent pay PRCodes automatically inherit the tax entity. This renders it unnecessary to set up a PayState segment if you are a single-state employer.
Press F3 to look up the value.
If a value is already selected, you can press F4 to open the record in its native editor.
Check Stub Item
The check stub item the segment item is assigned to.
Press F3 to look up the value.
If a value is already selected, you can press F4 to open the record in its native editor.
Follows Pay Group
This field is enabled for all segment items except for those that represent employee-paid deductions or taxes. If the accrual debits for a segment item are in the same proportion as a group of pay lines, the segment item "follows pay". If this is the case for this segment item, this is the check line group the segment item follows.
Any check line with a debit can be allocated against other pay lines.
Example
You can split employer Social Security expenses to GL departments in the same ratio as pay.
To do so, assign a group named "Wages" to the pay PRCodes that are the source of the follows pay. On the employer Social Security item, enter "Wages" as the follows pay group. Enter the Social Security expense account with wildcards in the GL department. If you distribute pay lines in the Wages group to three different departments, the employer portion of Social Security is distributed to the same departments in the same proportions.
Press F3 to look up the value.
If a value is already selected, you can press F4 to open the record in its native editor.
Debit Account (Accrual)
This field is enabled for all segment items except employee-paid deductions or taxes. This is the GL account the item posts to.
Press F2 to open the Account Expand dialog box where you can look up an account number, find an account number by its alias, build the account number by segment, or view setup and setup sources.
Press F3 to look up the account.
If an account is already selected, you can press F4 to open the record in the Account window.
Credit Account (Liability)
This field is enabled for deduction and tax segment items. This is the payroll liability account used for the cash posting from pay checks.
Press F2 to open the Account Expand dialog box where you can look up an account number, find an account number by its alias, build the account number by segment, or view setup and setup sources.
Press F3 to look up the account.
If an account is already selected, you can press F4 to open the record in the Account window.
Liability Date
This field is enabled for deduction and tax segment items. This is the type of date to use to post the GL liability entry. Valid options are:
- <blank>. Inherit the top-level segment item's value (typically "Check Date").
- Check Date. Accrue the liability as of the check date.
- Work Date. Accrue the liability as of the check line's work date.
Create Accrual Debit?
This field is enabled for statistical segment items. If "Yes" is selected, a GL debit posting is created; otherwise, if "No" is selected, no GL debit posting is created.
Position
This field is enabled for pay segment items. If the PRCodes that contain this segment item pay a specific position, this is the position.
Press F3 to look up the value.
If a value is already selected, you can press F4 to open the record in its native editor.
AP Control
This field is visible if the Payroll to AP interface is installed and is enabled for deduction and tax segment items. This is the default AP control used to post check lines with this segment item to AP.
Press F3 to look up the value.
If a value is already selected, you can press F4 to open the record in its native editor.
Amount Scale
Note
The change fields for "Source", "Rate", and "Result" on time sheet lines allow up to four decimal places; however, the values for these fields are nonetheless limited by the scales set by the PRCode.
Source
The number of places (0-4) to the right of the decimal for source amounts. The scale of a PRCode item comes from the rightmost item that has a non-blank scale.
Note
Changing the scale here changes the scale of all historical check lines from PRCodes with this segment item.
Rate
The number of places (0-4) to the right of the decimal for rate amounts. The scale of a PRCode item comes from the rightmost item that has a non-blank scale.
Note
Changing the scale here changes the scale of all historical check lines from PRCodes with this segment item.
Result
The number of places (0-4) to the right of the decimal for result amounts. The scale of a PRCode item comes from the rightmost item that has a non-blank scale.
Note
Changing the scale here changes the scale of all historical check lines from PRCodes with this segment item.
Calculations tab
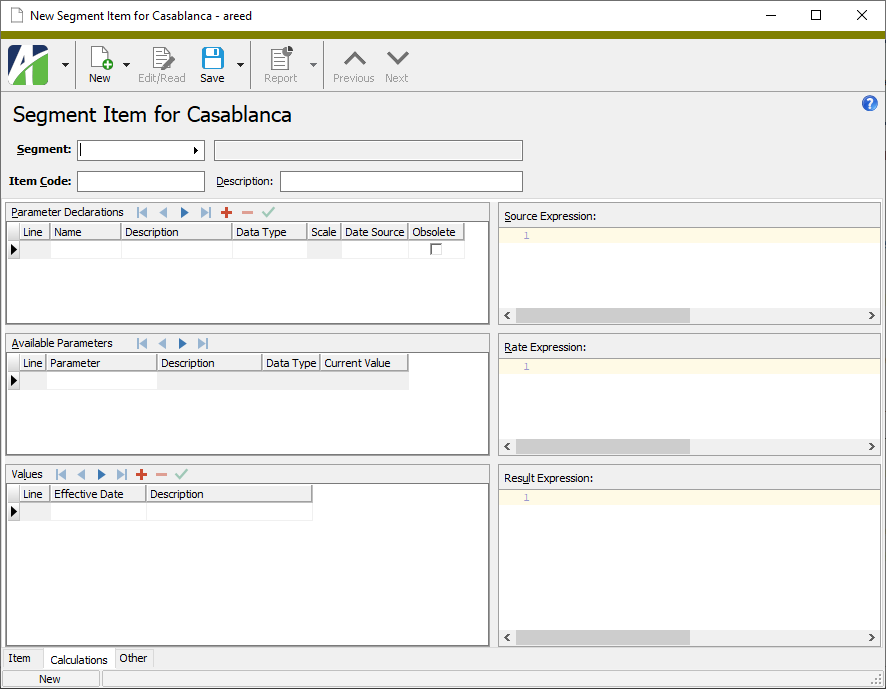
Parameter Declarations table
Use this table to declare any parameters you need for the calculation for this segment item.
Name
A name for the parameter. The name must be unique among all parameters for the segment item. The name must begin with a letter and contain only alphanumeric characters.
Description
A description of the parameter.
Data Type
The type of values to accept for the parameter. Valid options are:
- Date
- Number
- String
- True/False
Scale
This cell is enabled if you selected "Number" in the Data Type cell. The number of decimal places to allow in the parameter value.
Date Source
The type of date which affects the parameter values. Valid options are:
Example
An hourly pay rate might be effective as of a particular work date while a Medicare withholding rate would be based on the check date.
This table shows the parameters defined on this segment item as well as on other segment items higher up in the segment item hierarchy. To enter parameter values in the Values table, select the row in this table that contains the parameter you need to enter a value for.
Note
Obsolete segment item parameters appear in this table only if a value is assigned.
Parameter
Displays the parameter name.
Description
Displays a description of the parameter.
Data Type
Displays the data type of the parameter. Valid types are:
- Date
- Number
- String
- True/False
Current Value
Displays the current value of the parameter as of the system date.
Values table
Use this table to enter parameter values for the parameter that is currently selected in the Available Parameters table. Parameter values defined on an employee trump values defined on the segment item.
Effective Date
The check date or work date that the parameter value takes effect.
Value
The parameter value as of the effective date.
Description
A description of the parameter value.
Expression fields
Note
The expression fields have special editor features to simplify the process of composing expressions. Among the editor features are:
- Expression syntax highlighting
- Matching parenthesis detection
- Undo and redo
- Bookmarks navigation
- Line numbering in the margin
- Unsaved lines indication
- Search/case sensitive search
Tip
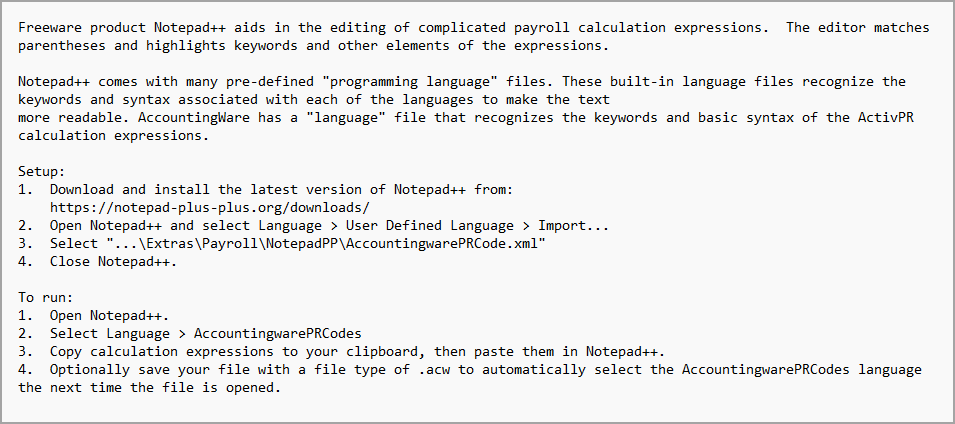
ActivityHD provides a language file that can improve your experience when editing source, rate, and result expressions. AccountingwarePRCode.xml can be loaded as an additional Notepad++ language, providing syntactical highlighting for various elements of segment item expressions such as keywords, literals, and parenthesis matching. In addition, the language file modifies the colors for comments, numbers, keywords, and delimiters. A readme.txt file with instructions is included in the folder with the xml file.
You can find AccountingwarePRCode.xml in your distribution files at "...\Extras\Payroll\NotepadPP\AccountinwarePRCode.xml".
Source Expression
The calculation expression needed to determine the source amount for a check line that contains this segment item. Calculation expressions can only refer to parameters declared on this segment item or on segment items higher up the hierarchy. Each parameter can have values assigned on this segment item, on a descendant segment item, or on the employee. If you leave the source expression blank, the source amount must be entered manually during check processing.
Rate Expression
The calculation expression needed to determine the rate amount for a check line that contains this segment item. Calculation expressions can only refer to parameters declared on this segment item or on segment items higher up the hierarchy. Each parameter can have values assigned on this segment item, on a descendant segment item, or on the employee. If the rate expression is left blank but the result expression refers to it, the rate must be entered manually during check processing.
Result Expression
The calculation expression needed to determine the result amount for a check line that contains this segment item. Calculation expressions can only refer to parameters declared on this segment item or on segment items higher up the hierarchy. Each parameter can have values assigned on this segment item, on a descendant segment item, or on the employee. In addition to the other parameters and functions available in calculation expressions, the result expression can use the keywords "Source" and "Rate" to refer to the output of the source expression and rate expression, respectively.
Custom tab
This tab is visible if custom fields exist for the entity. At a minimum, if there are custom fields, a Fields subtab will be present. One or more additional categories of subtabs may also be visible.
Fields subtab
This tab prompts for values for any custom fields set up for entity records of this entity type. Respond to the prompts as appropriate.
References subtab
This tab is visible if other records reference the current record.
Reference
From the drop-down list, select the custom field to view references for. Reference custom fields have the following format: PackageName.EntityName.CustomFieldName.
Example
Suppose a custom field exists on PRCodes that references an ARCode. On the ARCode record, on the Custom > References subtab, you can view all the PRCodes which reference that ARCode.
Exchange Folder subtab
This tab is visible only if you set up a custom field with a data type of "Exchange Folder". The label on this tab is the name assigned to the custom field.
This tab shows the contents of the specified Exchange folder.
File subtab
This tab is visible only if you set up a custom field with a data type of "File". The label on the tab is the name assigned to the custom field.
This tab renders the contents of the specified file according to its file type.
Internet Address subtab
This tab is visible only if you set up a custom field with a data type of "Internet Address". The label on this tab is the name assigned to the custom field.
This tab shows the contents of the specified web page.
Network Folder subtab
This tab is visible only if you set up a custom field with a data type of "Network Folder". The label on this tab is the name assigned to the custom field.
This tab shows the contents of the specified network folder.
Segments tab
The Segments pane shows the Segments HD view filtered to show all segments that the selected segment item is a parent of.
Double-click a row in the pane to drill down to its record in the Segment window.
PRCodes tab
The PRCodes pane shows the PRCodes HD view filtered to show all PRCodes that contain the selected segment item.
Double-click a row in the pane to drill down to its record in the PRCode window.
Check Lines tab
The Check Lines pane shows the Check Lines HD view filtered to show all check lines generated from PRCodes which contain the selected segment item.
Double-click a row in the pane to drill down to its record in the Check Line window.
Notes tab
The Notes pane shows the Notes HD view filtered to show all notes which reference the selected segment item.
Double-click a row in the pane to drill down to its record in the Note window.
The Attachments tab is visible if any record for a given entity has an attachment. If the Attachments tab is not visible, this implies that no record of the entity type has an attachment on it; however, once an attachment is added to any record of the entity type, the Attachments tab will become available.
Attachments
The list box shows the files which are attached to the current record. Highlight a file name to preview the file in the adjacent pane. Double-click a file name to open the file in its native editor.
Preview pane
If a file name is highlighted in the Attachments list box, this pane shows a preview of the file contents. Some file types cannot be previewed but can be double-clicked to open in their native editor.
Change Logs tab
This tab is visible if the user has "Change Logs" access to the associated data folder resource.
The Change Logs pane shows the Change Logs HD view filtered to show all change logs for the selected entity record.
Double-click a row in the pane to drill down to its record in the Change Log window.
Other tab
Memo tab
To include additional information about this record not collected elsewhere, enter it in this text box. This area supports common keyboard shortcuts such as Ctrl+C to copy and Ctrl+V to paste.
Timestamps tab
This tab shows the user who created this record and the date and time of creation as well as the user, date, and time of the latest modification to the record.
Developer tab
This tab is visible only when developer features are enabled.
Automation subtab
This subtab shows field names and values for the current data record. Use the information in the subtab to assist when creating automation objects such as bots and import files. The field names and field values can be copied from the text box and pasted directly into your code or application. To copy content from the text box, highlight the content to copy and press Ctrl+C or right-click your selection and select Copy from the context menu.
Export (XML | JSON) subtab
This subtab shows the XML syntax for exporting the selected data record. The syntax can be copied from the text box as an exemplar for creating your own automation objects for bots, import files, ActivWebAPI, etc. To copy content from the text box, highlight the content to copy and press Ctrl+C or right-click your selection and select Copy from the context menu.
Import (XML | JSON) subtab
This subtab allows you to select a file for import and shows the XML syntax for importing data records. Use the subtab to explore the XML syntax for importing data records. In particular, you can investigate the syntax which results when using Data.Import and ActivWebAPI data POST and DELETE routes.
Change Log (XML | JSON) subtab
This subtab is visible only when the Enable Change Logs option is marked in System Options or Company Options (depending on whether the feature applies at the system or the company level). This is the default setting when developer features are enabled.
This subtab allows you to investigate changes to the current data record. The syntax can be copied for use in bots, dashboards, ActivWebAPI, and other automation. To copy content from the text box, highlight the content to copy and press Ctrl+C or right-click your selection and select Copy from the context menu.
Select Statement (SQL) subtab
This subtab allows you to investigate the SQL select statement used to retrieve the current data record. The syntax can be copied as an exemplar for data sources and other automation. To copy content from the text box, highlight the content to copy and press Ctrl+C or right-click your selection and select Copy from the context menu.
 Create a segment item
 . The New Segment Item window opens.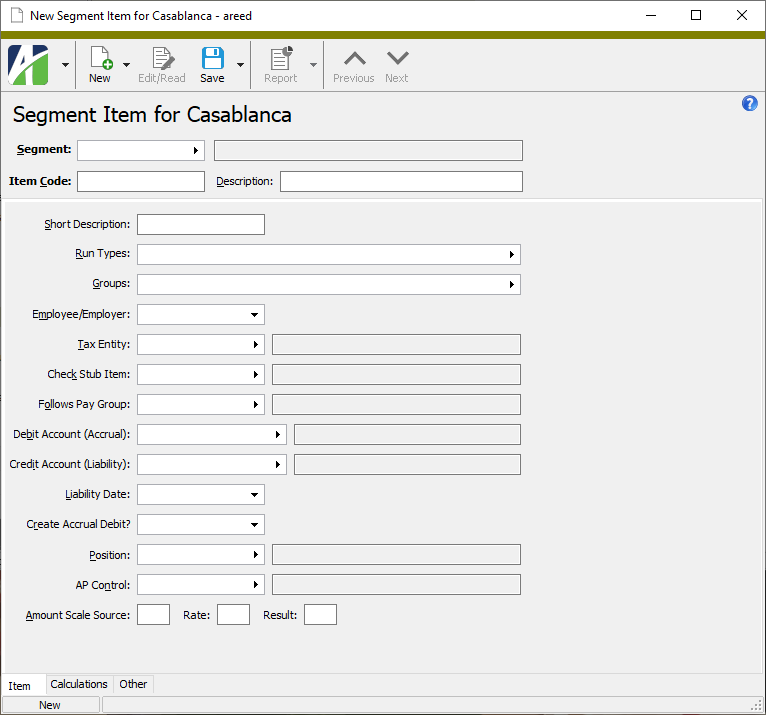
 , or open the segment item and select
  > Edit > Delete. In either case,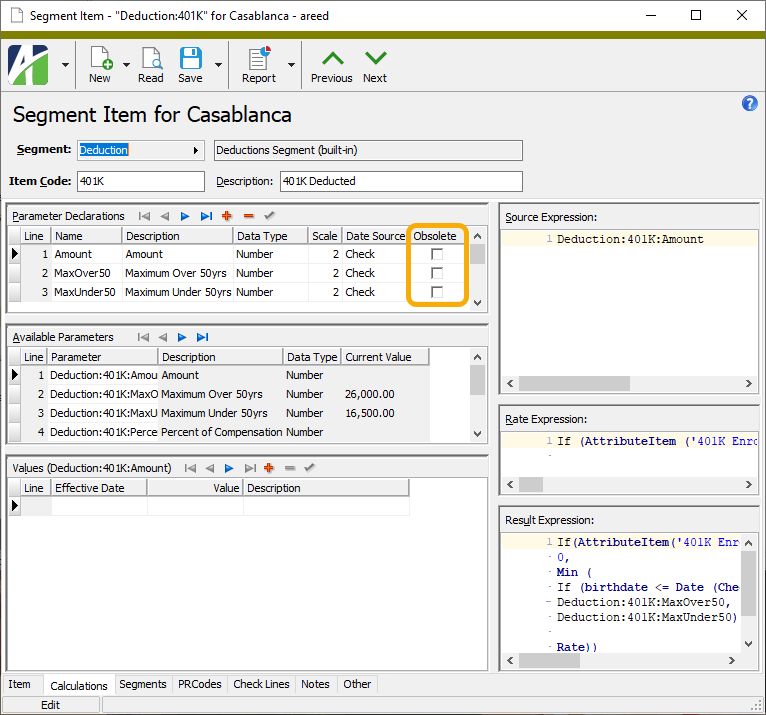
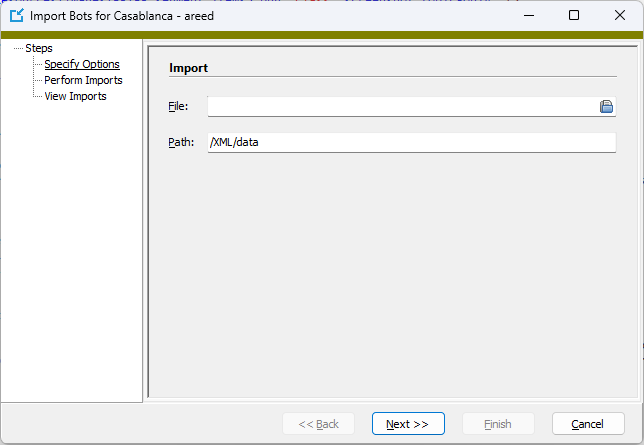
 to open the Browse window.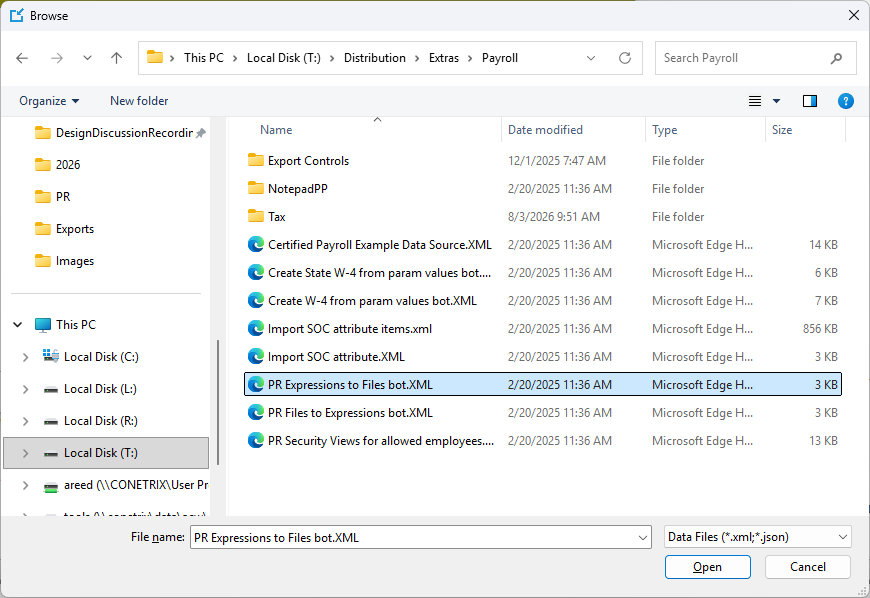
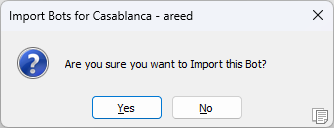
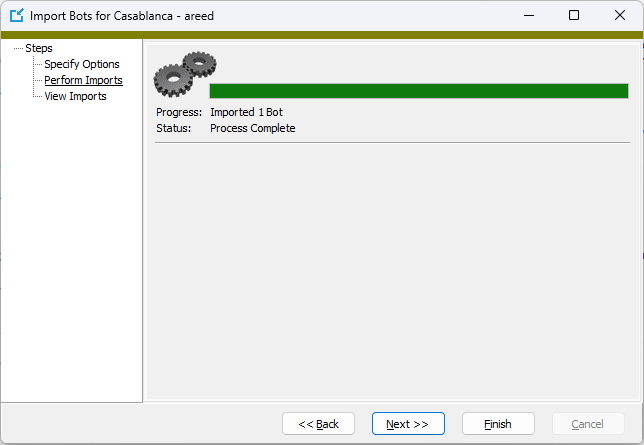
 and select PR Expressions to Files. The bot starts.
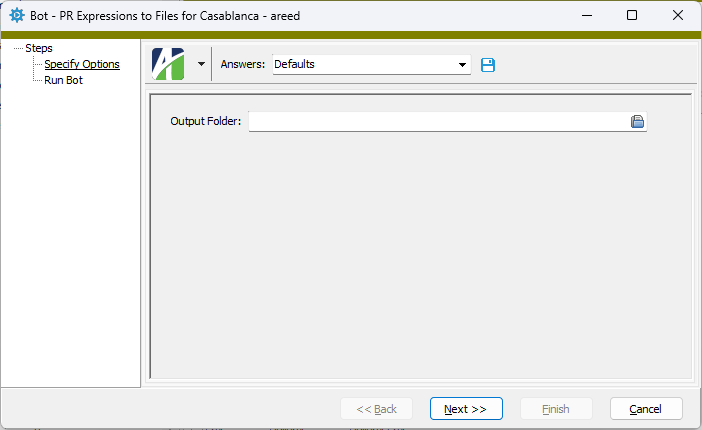
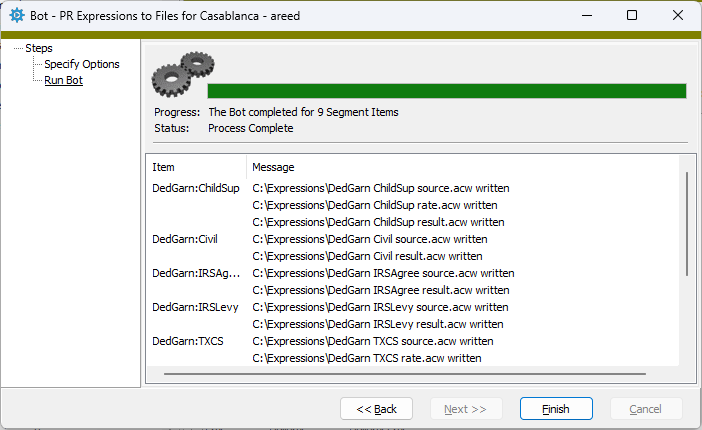
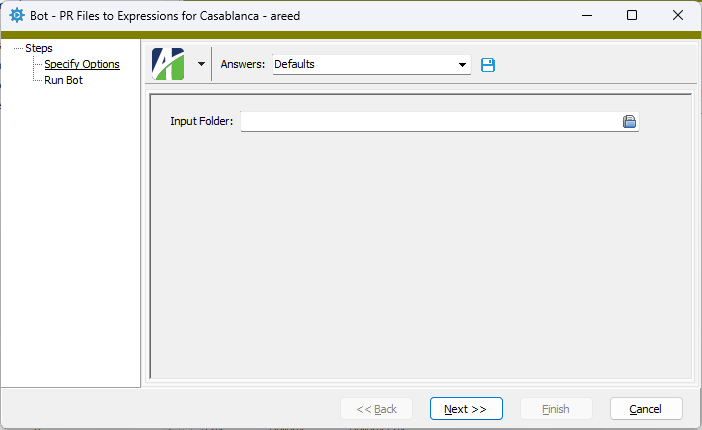
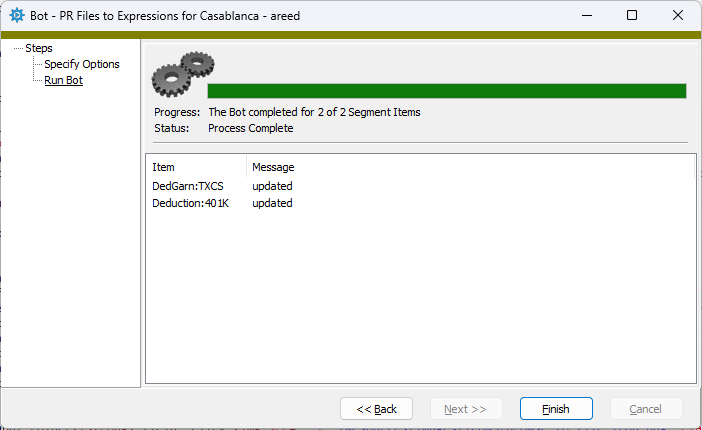
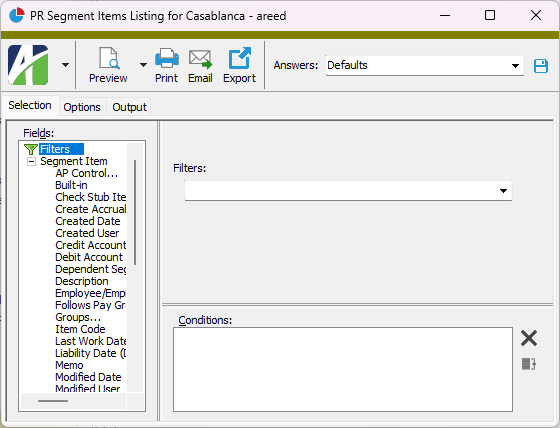
 .
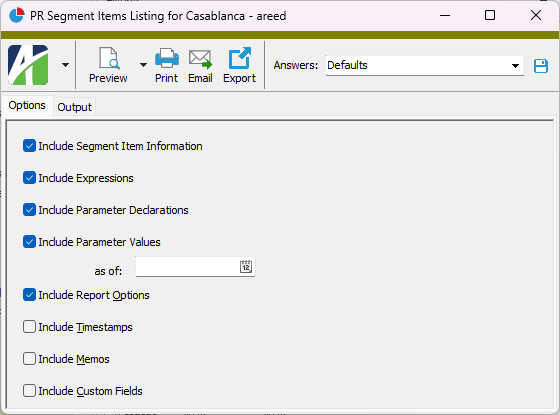
.
 - Provides access to two preview options.
 - Opens the Print dialog so that you can select and configure a printer and then print a paper copy of the report.
 - Opens the
  - Opens a drop-down menu with two export options: