Account Rule Record ID
Name
A unique name for the account rule.
Segments
Select the segment(s) to include in the account rule.
If you enter segments by typing, enter them in the order you want them applied and separate segments with commas.
To select segments, click  and select Expand to open the Assigned Segments dialog box.
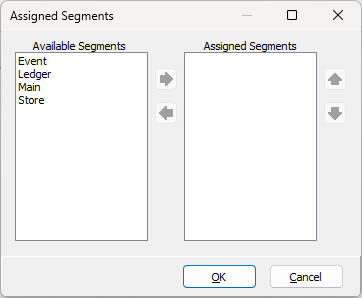
To assign segments to the account rule, highlight them in the Available Segments list box, then click  to move your selection(s) to the Assigned Segments list box.
To set the order in which a segment is applied, highlight it in the Assigned Segments list box and use  and
and  to move it to the desired position. Repeat this action for other segments until you achieve the desired order.
Tip
If your work on an account rule deals primarily with segment items for a segment that is not the first segment, you can temporarily reorder the segments so that the one you want to sort on appears first in the list. Just remember to revert to the desired segment order before you save your changes.
Press F2 to open a dialog box where you can add and remove selections for this field.
Press F3 to look up the item.
Account Rule tab
Masks and Ranges
Mark this checkbox if you want to use masks and ranges in rule definitions rather than references and segment item classes. Using masks and ranges can have a negative impact on performance.
Sort
From the drop-down list, select how to sort the rows in the table. Your options are:
Detail table with references and segment item classes
Detail table
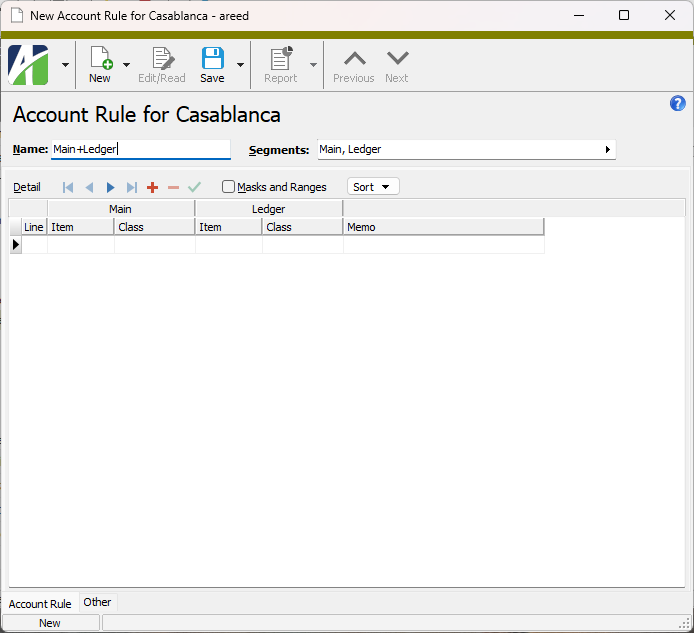
Use the rows in the table to define the relationships between/among the selected segments. For each detail line, define the segment item and class from the first segment which legally combine with the item and class from the second segment (and other segments, if applicable) to form valid account numbers.
Provide the following information for each segment on each row of the table.
Item
Select the segment item to include.
Press F3 to look up the value.
If a value is already selected, you can press F4 to open the record in its native editor.
Class
Select the segment item class to include for the selected segment item.
Press F3 to look up the value.
If a value is already selected, you can press F4 to open the record in its native editor.
Provide the following information for each row of the table.
Memo
A note about the detail line.
Detail table with masks and ranges
Detail table
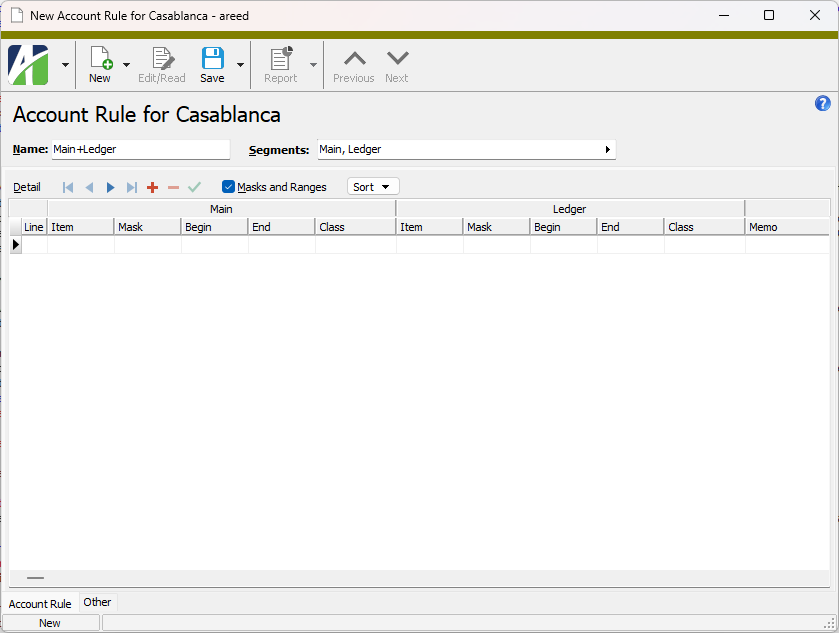
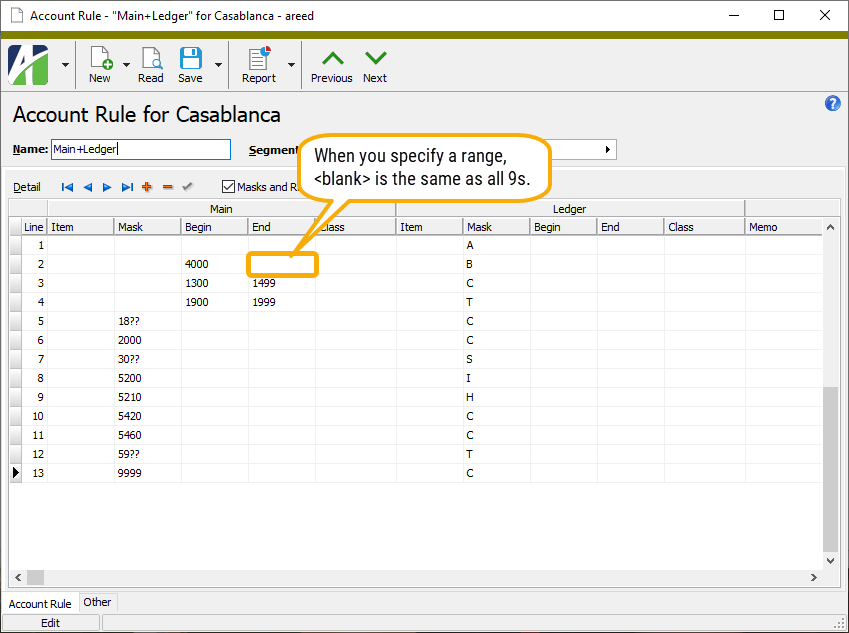
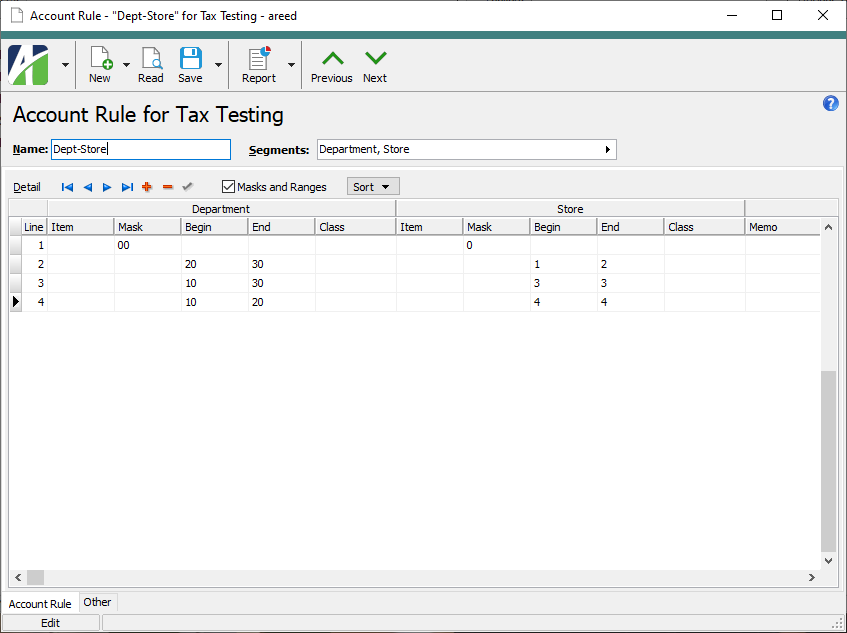
Use the rows in the table to define the relationships between/among the selected segments. For each detail line, define the mask, segment item range, or segment item and class combination which legally combine with the mask, segment item range, or segment item and class combination from the second segment (and other segments, if applicable) to form valid account numbers.
Note
For best performance, use the same type of criteria to define each detail line for a segment. In other words, use all masks, all ranges, or all items/classes for the segment. Criteria can vary from segment to segment.
Provide the following information for each segment on each row of the table.
Item
If you are specifying a segment item and class for the segment, select the segment item to include.
Press F3 to look up the value.
If a value is already selected, you can press F4 to open the record in its native editor.
Mask
If you are specifying a mask for the segment, enter the segment mask. Use a mask when you want to include segment items which have common characters but are not in a particular order.
Press F3 to look up the value.
If a value is already selected, you can press F4 to open the record in its native editor.
Begin
If you are specifying a range of segment items, enter the first segment item in the range. Use a segment item range when you want to include segment items that are in a particular order.
Press F3 to look up the value.
If a value is already selected, you can press F4 to open the record in its native editor.
End
If you are specifying a range of segment items, enter the last segment item in the range.
Press F3 to look up the value.
If a value is already selected, you can press F4 to open the record in its native editor.
Class
If you are specifying a segment item and class for the segment, select the segment item class to include for the selected segment.
Press F3 to look up the value.
If a value is already selected, you can press F4 to open the record in its native editor.
Provide the following information for each row of the table.
Memo
A note about the detail line.
Custom tab
This tab is visible if custom fields exist for the entity. At a minimum, if there are custom fields, a Fields subtab will be present. One or more additional categories of subtabs may also be visible.
Fields subtab
This tab prompts for values for any custom fields set up for entity records of this entity type. Respond to the prompts as appropriate.
References subtab
This tab is visible if other records reference the current record.
Reference
From the drop-down list, select the custom field to view references for. Reference custom fields have the following format: PackageName.EntityName.CustomFieldName.
Example
Suppose a custom field exists on PRCodes that references an ARCode. On the ARCode record, on the Custom > References subtab, you can view all the PRCodes which reference that ARCode.
Exchange Folder subtab
This tab is visible only if you set up a custom field with a data type of "Exchange Folder". The label on this tab is the name assigned to the custom field.
This tab shows the contents of the specified Exchange folder.
File subtab
This tab is visible only if you set up a custom field with a data type of "File". The label on the tab is the name assigned to the custom field.
This tab renders the contents of the specified file according to its file type.
Internet Address subtab
This tab is visible only if you set up a custom field with a data type of "Internet Address". The label on this tab is the name assigned to the custom field.
This tab shows the contents of the specified web page.
Network Folder subtab
This tab is visible only if you set up a custom field with a data type of "Network Folder". The label on this tab is the name assigned to the custom field.
This tab shows the contents of the specified network folder.
The Attachments tab is visible if any record for a given entity has an attachment. If the Attachments tab is not visible, this implies that no record of the entity type has an attachment on it; however, once an attachment is added to any record of the entity type, the Attachments tab will become available.
Attachments
The list box shows the files which are attached to the current record. Highlight a file name to preview the file in the adjacent pane. Double-click a file name to open the file in its native editor.
Preview pane
If a file name is highlighted in the Attachments list box, this pane shows a preview of the file contents. Some file types cannot be previewed but can be double-clicked to open in their native editor.
Other tab
Memo tab
To include additional information about this record not collected elsewhere, enter it in this text box. This area supports common keyboard shortcuts such as Ctrl+C to copy and Ctrl+V to paste.
Timestamps tab
This tab shows the user who created this record and the date and time of creation as well as the user, date, and time of the latest modification to the record.
 Create an account rule
 . The New Account Rule window opens.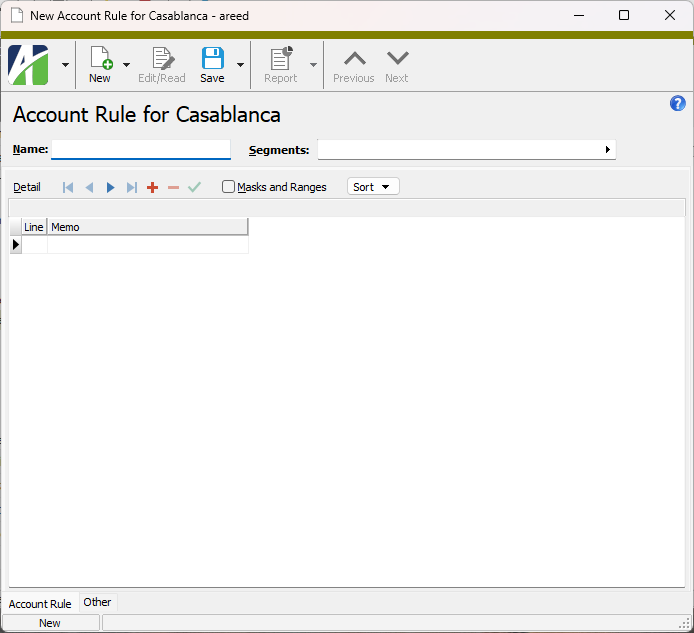
 , or open the account rule and select
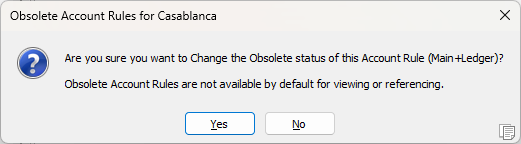
  > Edit > Delete. In either case,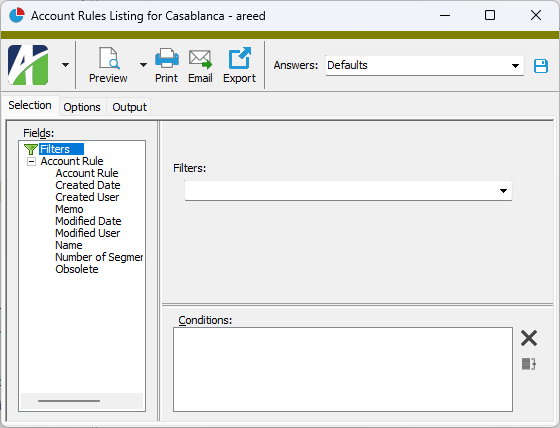
 .
.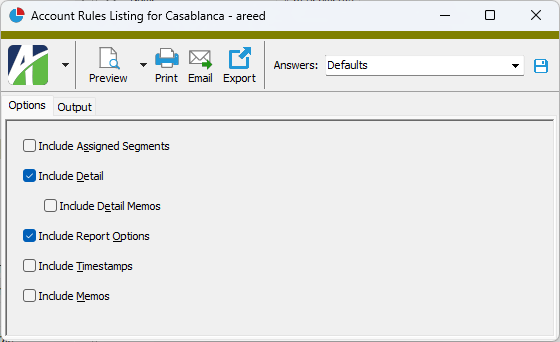
 - Provides access to two preview options.
 - Opens the Print dialog so that you can select and configure a printer and then print a paper copy of the report.
 - Opens the
  - Opens a drop-down menu with two export options: